
1
Select Audience
Select a predefined audience. To create a name for the messaging campaign, select the pencil icon. The preview will show the audience coverage for this message.To learn how to exclude users who have opted out of promotional communications, see Marketing Opt-Out List.
2
Set Delivery Method
Next, set the delivery method, message type, and priority (if prompted), and pick the product for the message. Messages display in priority order from 1 (highest priority) through 12 (lowest priority).Mobile Application
- In-app and push notification. Mobile application users receive an alert via push notification letting them know they have a new notification in their app.
- Banner ad. The banner ad appears at the location set inside your mobile build. If you would like to link within the mobile app, see our deep linking guide.
- In-app notification. Online banking users receive an alert upon login letting them know they have a new notification.
- Banner ad. The banner ad appears at the top of the Accounts Widget or, if you’re using the Money Dashboard Widget, at the top of its main column.
3
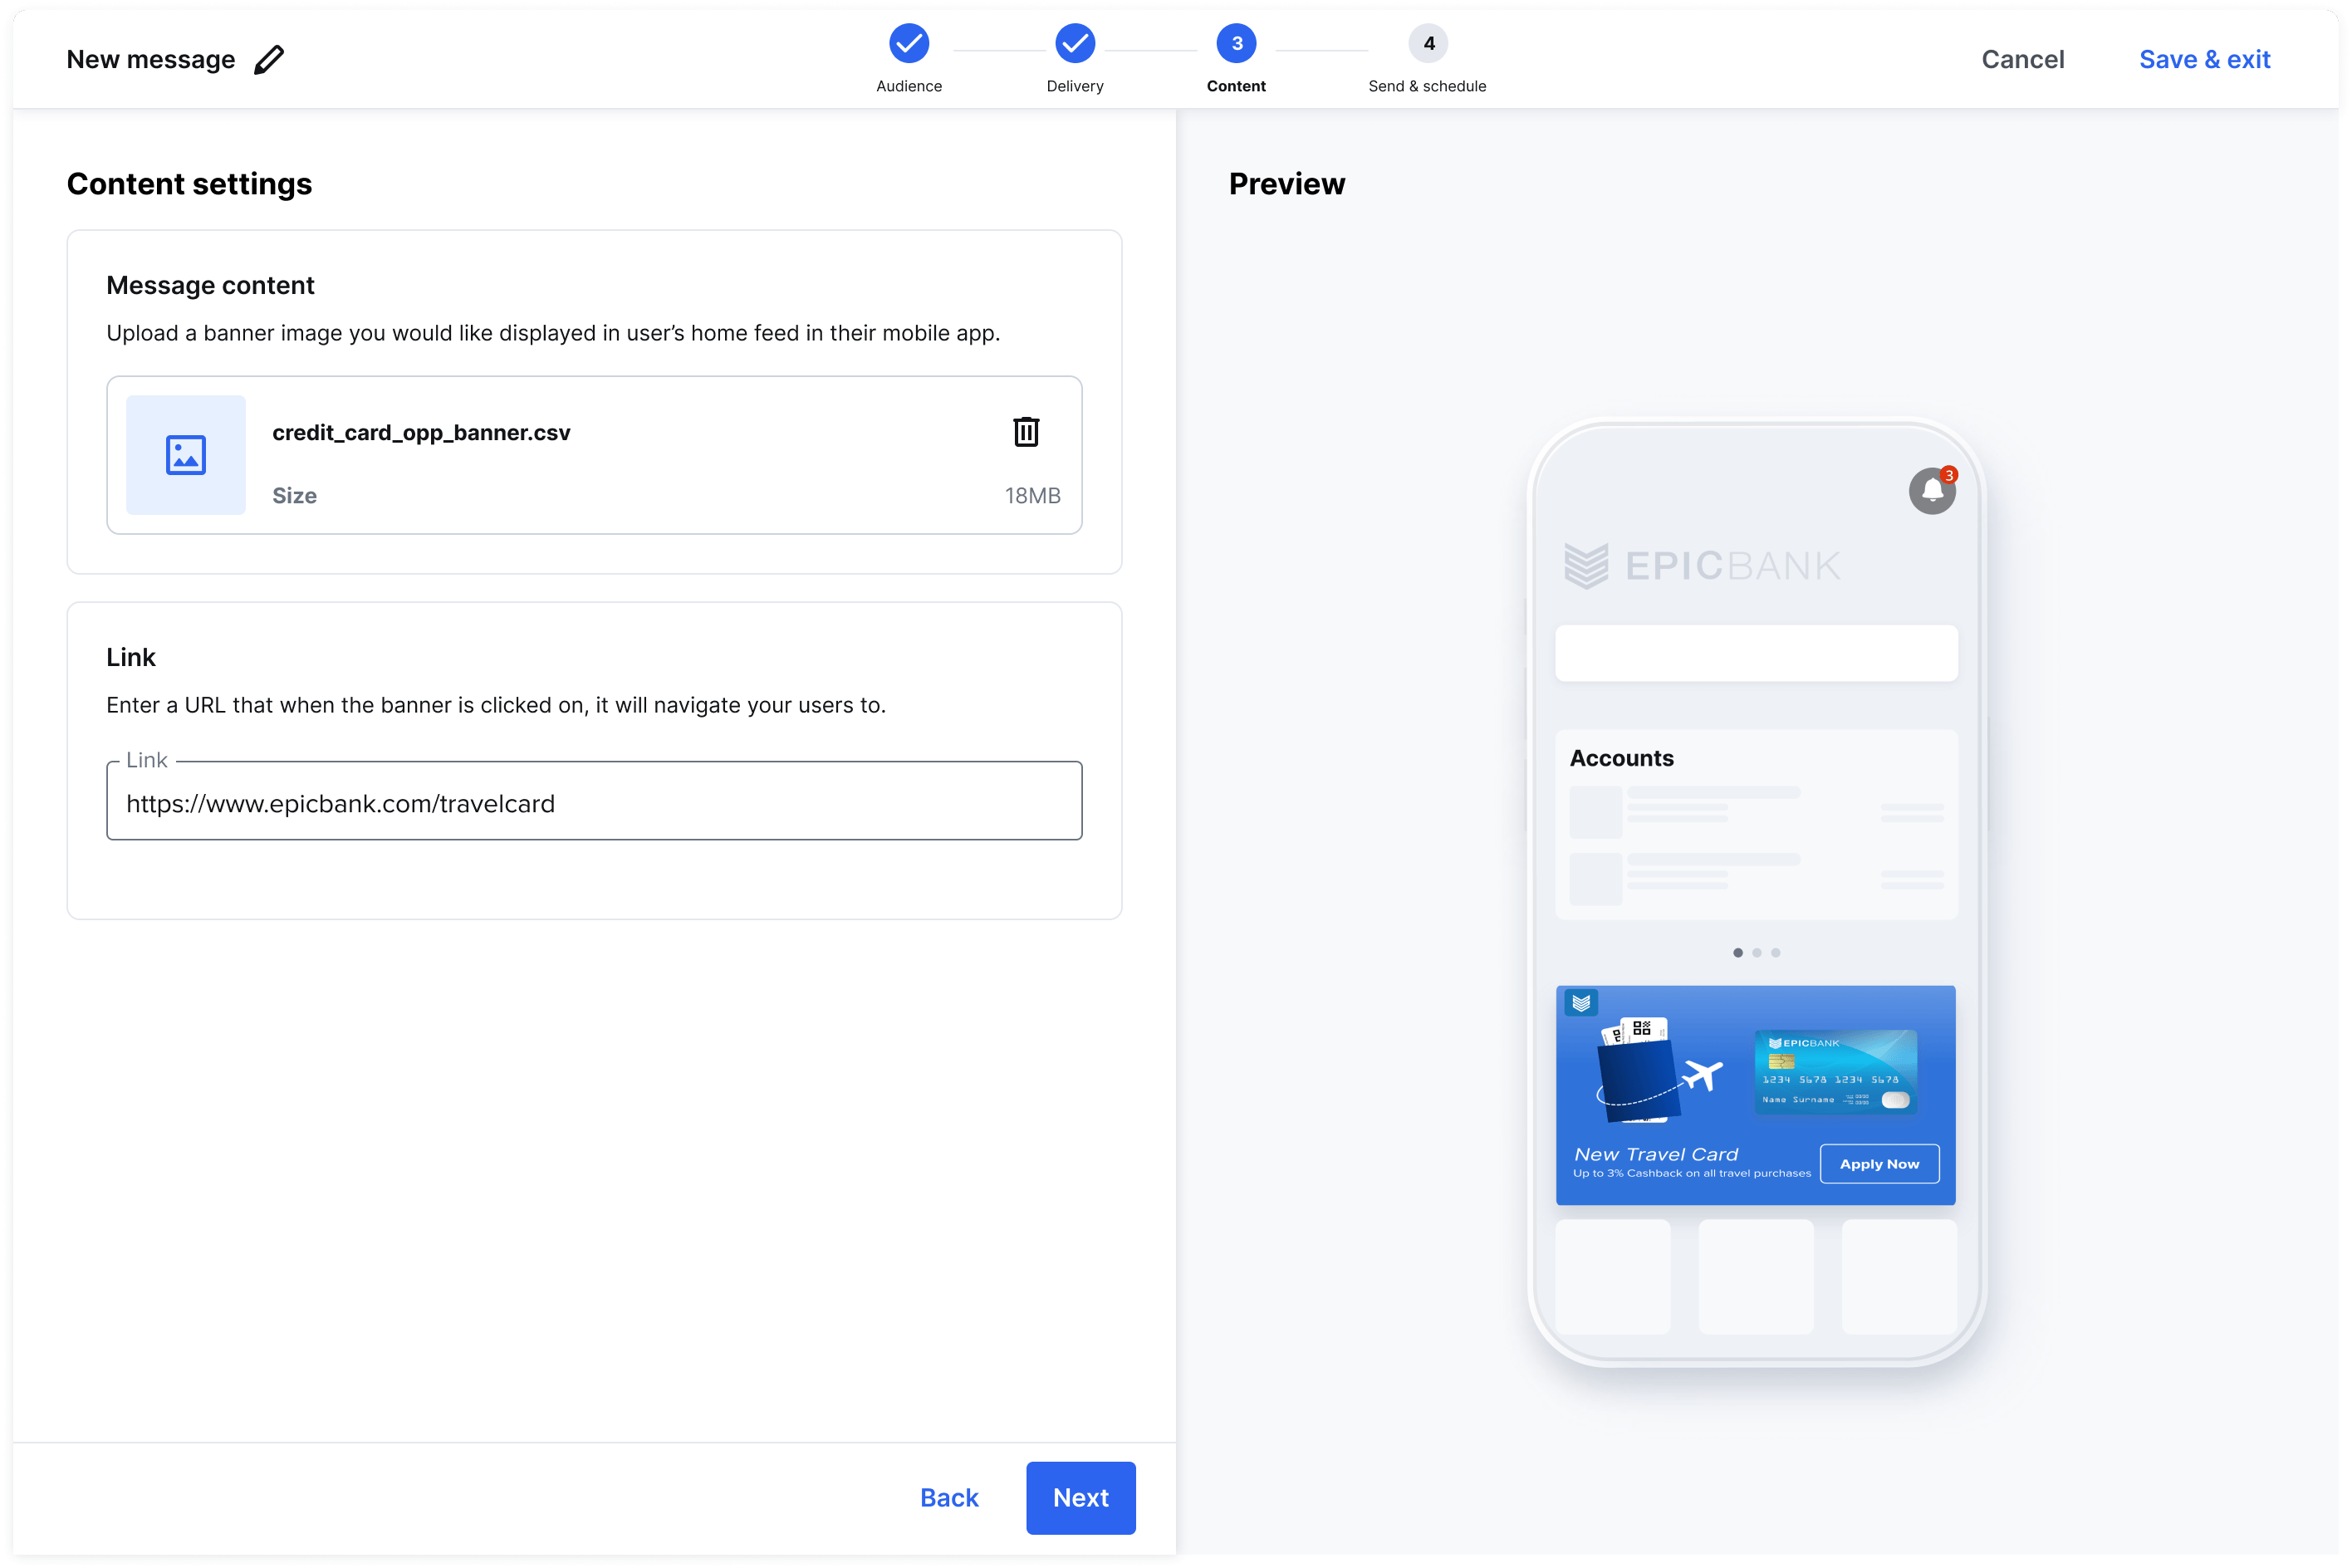
Create Content
Depending on the delivery method, enter a title, message body, image, and the call-to-action link. The link may be to your site or a deep link within your app. A selectable button in some delivery types is optional and may be toggled on or off. Flagging the campaign as a “direct deposit” campaign means the call-to-action button will open with the direct deposit SDK overlaid. When building a campaign, the message type determines how you configure the content of the campaign.
- In-App Notification: A text-only message is required to complete this step. You may optionally select from an assortment of icons to supplement the text.
- Banners: In-App, Mobile, or Webpage via a .gif, .jpg, .pdf, .png, or .svg file 250MB or less.
- Email Alert Footer: Text inputs with a preview.
4
Send and Schedule
Send and schedule the message. You may immediately launch the message or set a date and time for launch. You may also set an end date and time.Once created, manage your message in the Messaging dashboard. The dashboard allows you to sort by status, product type, message type, creation date, message creator, and updated date. You may also select a message to update or to view additional details. On the Message details page you may edit or delete draft messages. For active messages, you may edit, delete, pause, or end the campaign.This summary also shows the following message details: audience, priority, message title, message body, image, button text, and link. An in-app or desktop preview is also available.Performance metrics show the percentage of your customers targeted by the message and user numbers for message views, clicks, and dismissals.
ACTIVE CAMPAIGN EDITSIf you edit active campaigns (excluding the audience), messaging metrics and analytics won’t be updated with the changes made.