Add an Intermediary
To add an intermediary:- Select +Add.
- Enter the following info about the intermediary:
- Logo
- Name
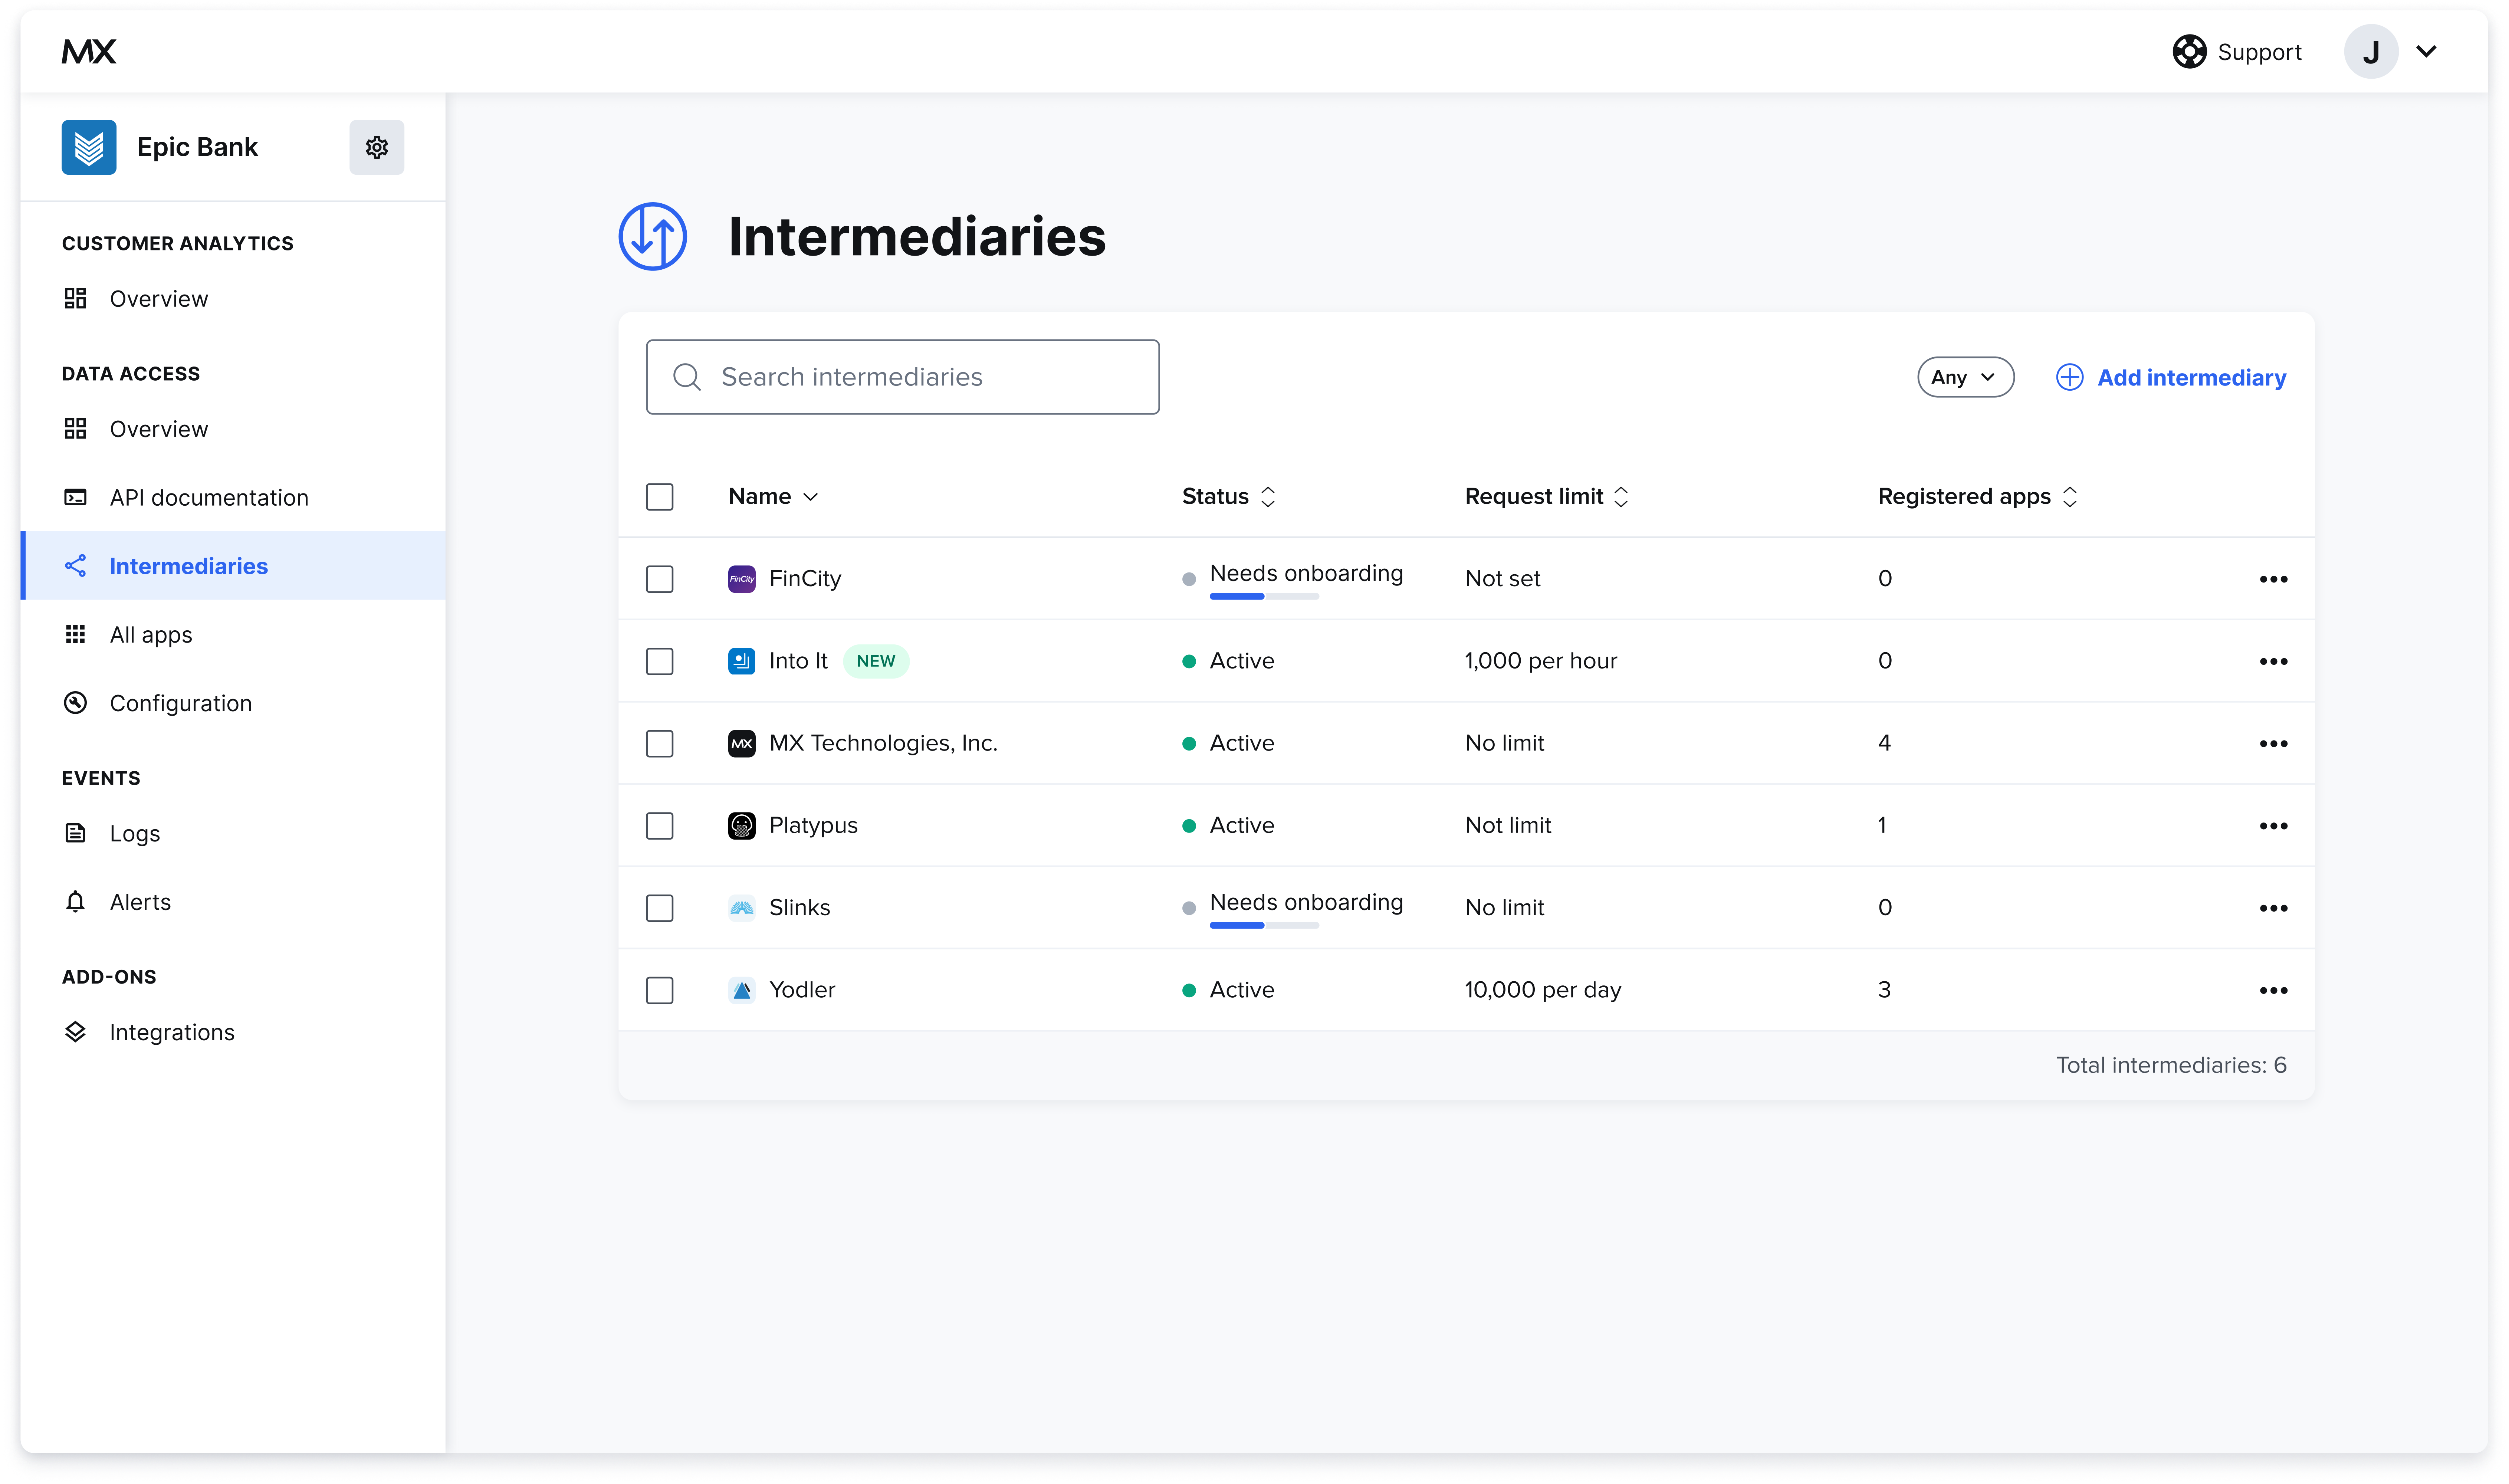
- Adjust the intermediary’s status if needed.
- When set to Enabled, all API requests flow freely to this intermediary and their registered apps.
- When set to Disabled, all API requests from this intermediary and their registered apps will be rejected.
- When set to Needs review, all API requests from this intermediary will be rejected, and notes that the intermediary’s apps and settings need to be reviewed before enabling.
- The website, support email, support phone, address**, city, state, and zip fields are optional. These fields help other team members identify the intermediary and who to contact if support is needed.
- Set a request limit and frequency.
- If the intermediary exceeds the request limit, any more requests will be blocked. If you don’t want to set a request limit, select the Disable request limit checkbox.
- Tip: A request is counted each time one of the FDX endpoints is hit. For example,
GET /accountswould be one request.
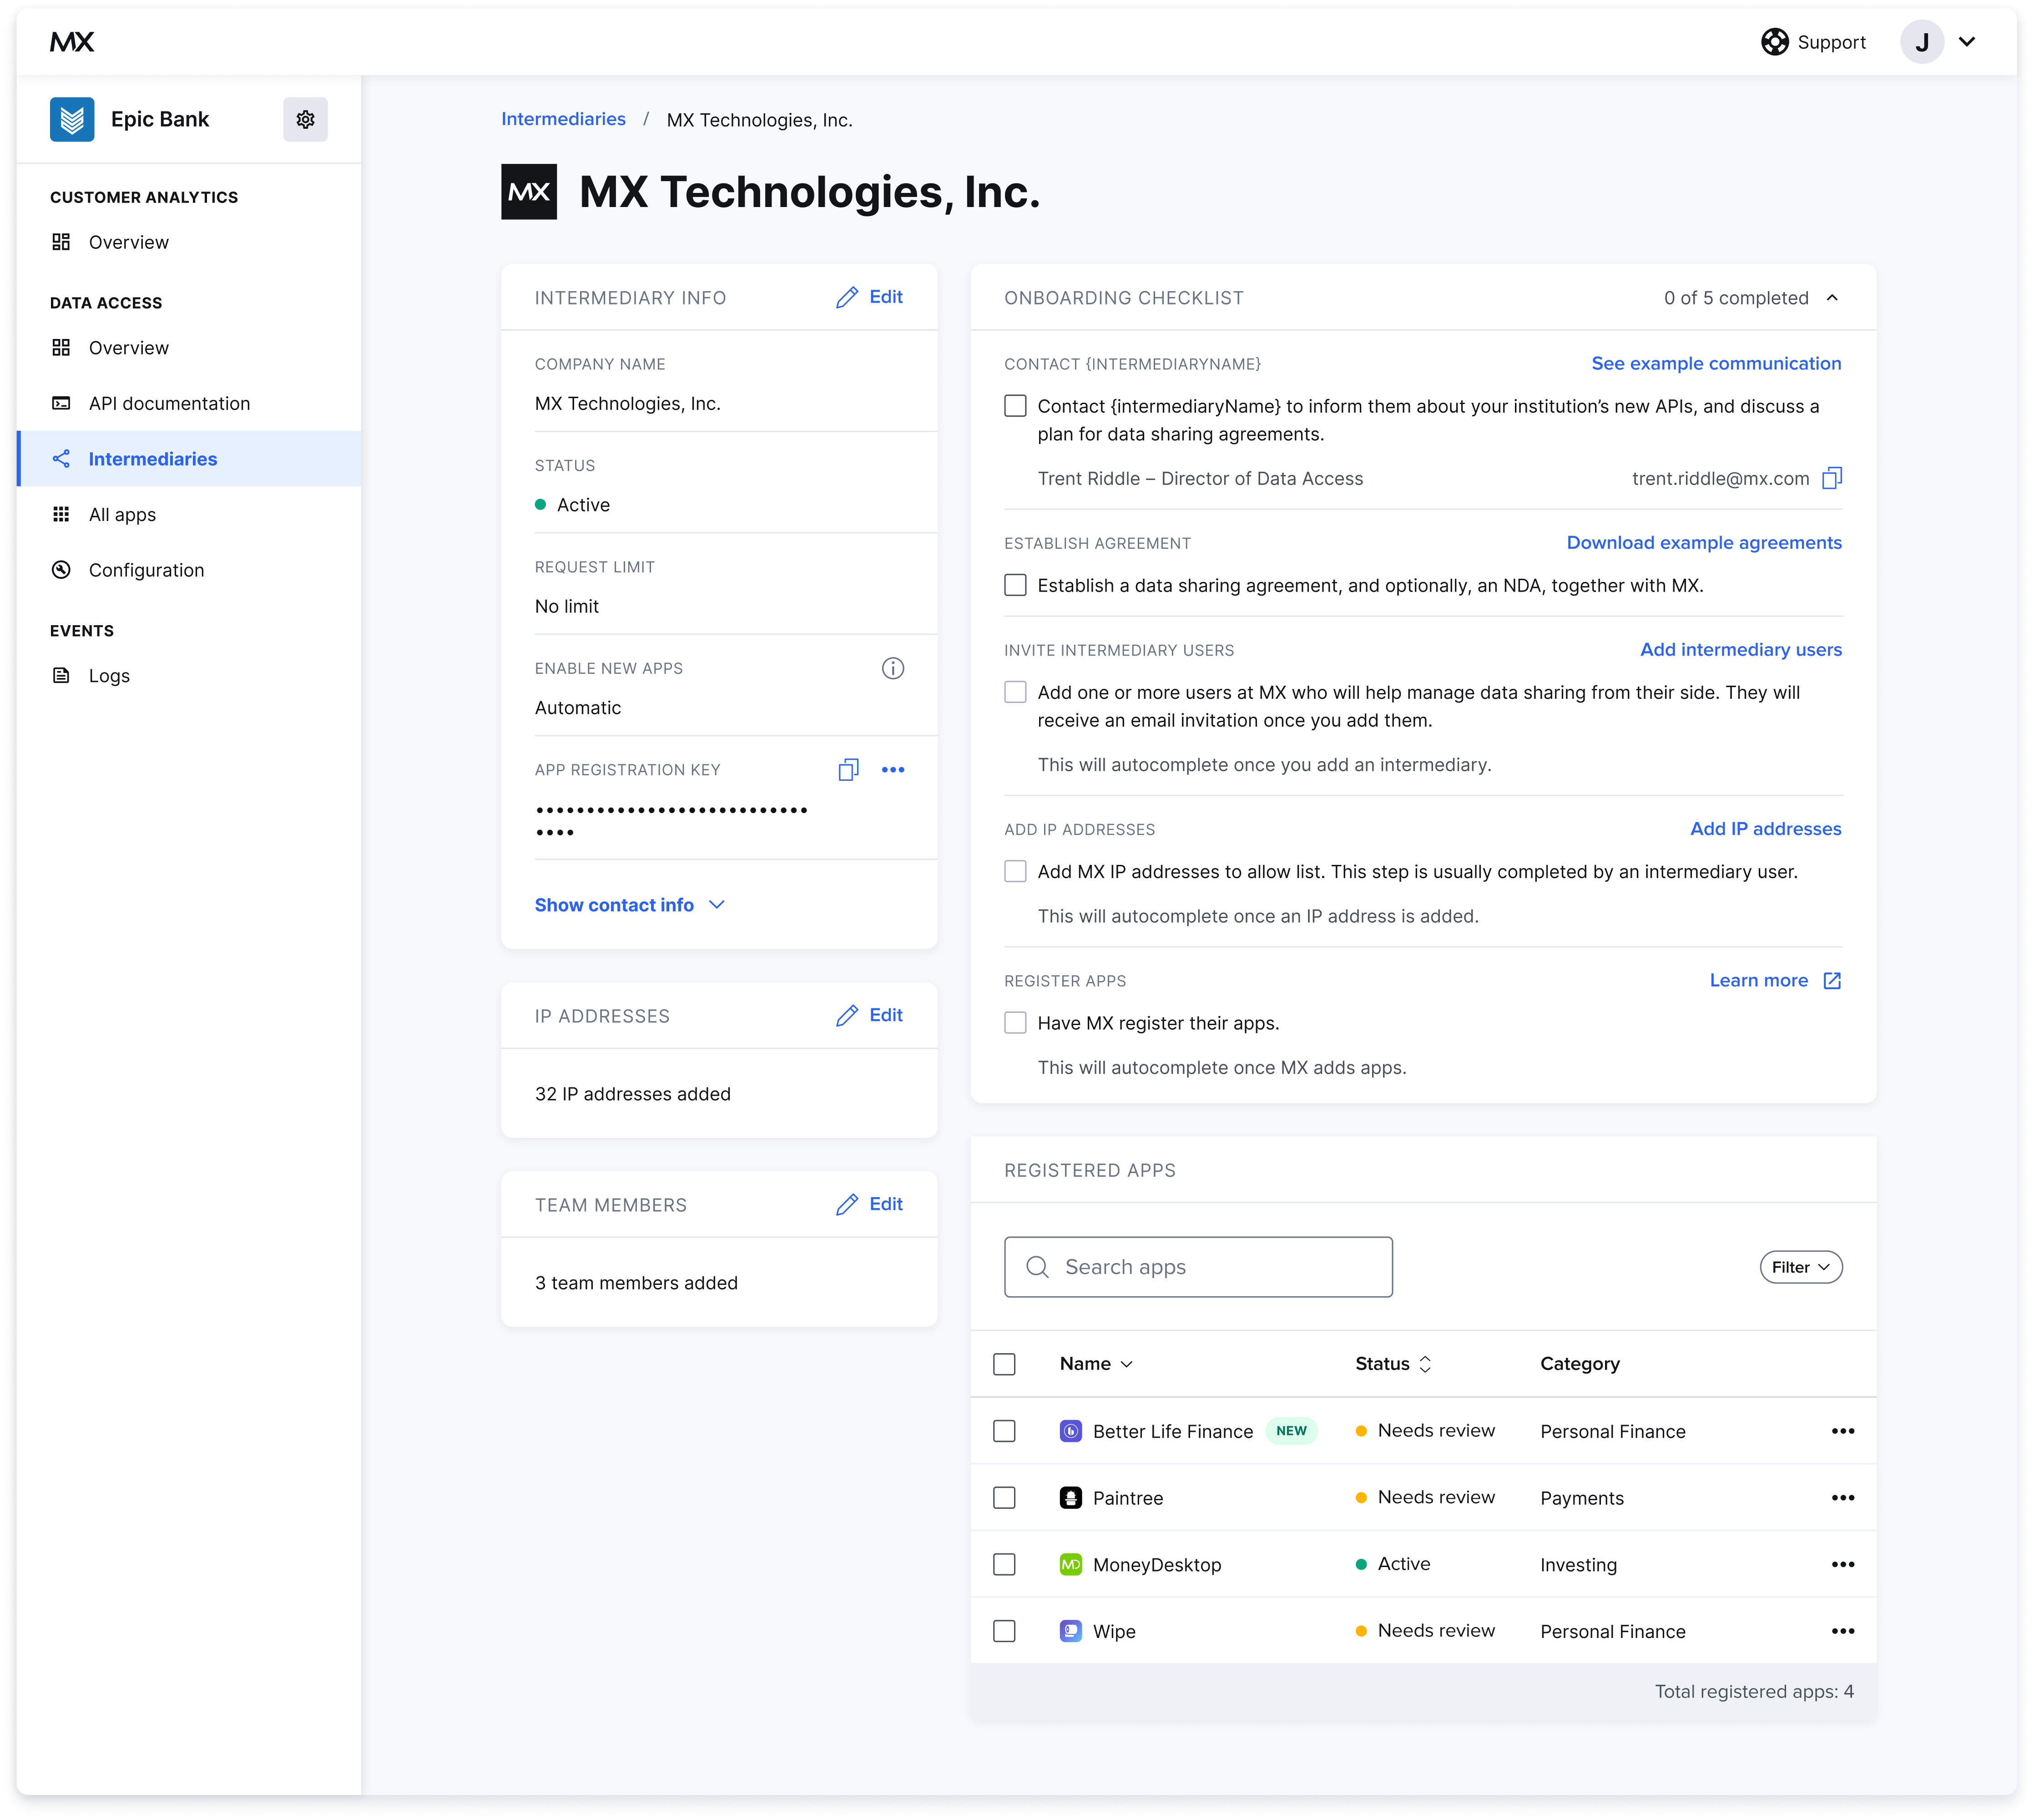
- Select whether any new apps that are registered with the intermediary are auto-approved or not. If this is set to manual, the data provider admin will have to manually enable each newly registered app.
- Enter the IP addresses for the intermediary.
- You can add multiple addresses if needed.
- When the form is complete, select Add.
Invite an Intermediary Admin
You can give Data Recipient Portal access to intermediary admins by sending them an email invite and setting their role correctly. To invite an intermediary admin:- From the intermediary details page, find the TEAM MEMBERS section and select Edit.
- Select Add team members.
- Enter the intermediary admin’s first name and last name.
- From the Role dropdown, select Intermediary Admin.
- Intermediary admins have full edit access to all features of the Data Recipient Portal, whereas users have read-only access.
- Enter a work email.
- Select Add.
Remote App Registration Keys
If an intermediary’s app registration key is compromised, or if your security and compliance team requires these keys be rotated regularly:- Select •••.
- Select Rotate key.
Enable an Intermediary
If an intermediary’s status is set to Enabled, all API requests that come from that intermediary and its registered apps will be accepted. To enable an intermediary:- Select the intermediary you want to enable.
- Select Enable.
Add an App to an Intermediary
We suggest that intermediaries use dynamic client registration to register their apps. However, the data provider admin might need to add an app on behalf of an intermediary, so you can also manually register apps via the Data Provider Portal. To add an app to an intermediary:- Select the intermediary you want to add the app to.
- From the intermediary details page, select +Add an app.
- Enter the name of the app.
- Adjust the status if needed.
- Enter the redirect URI (you must get this from the intermediary or app).
- Select an app category. Choose from the existing categories or create a new one.
- When the form is complete, select Save.